Learning Guide of Software working
Step by step procedure to understand how the software works and how the users need to apply it practically.
Step 1
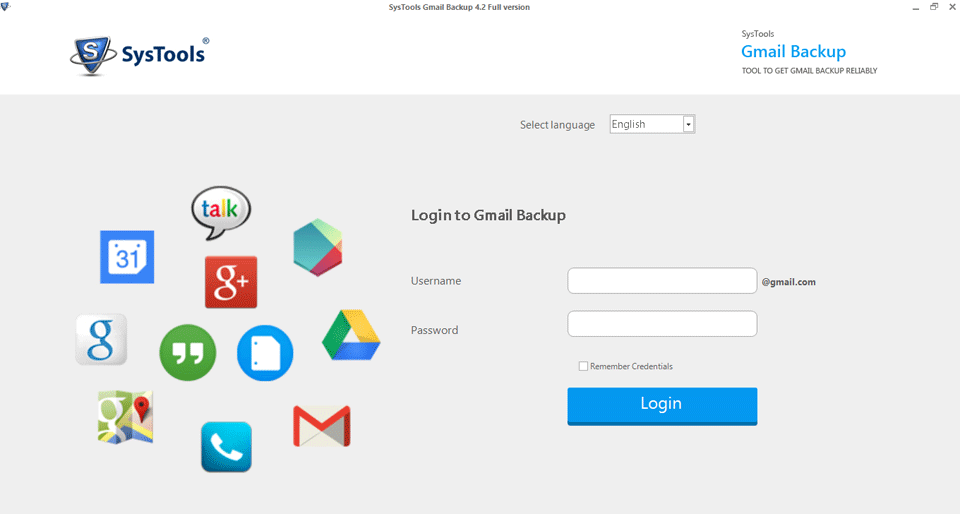
Launch the software and Run the application. This application has given options for multiple languages, choose the language in which you want to proceed.
Step 2
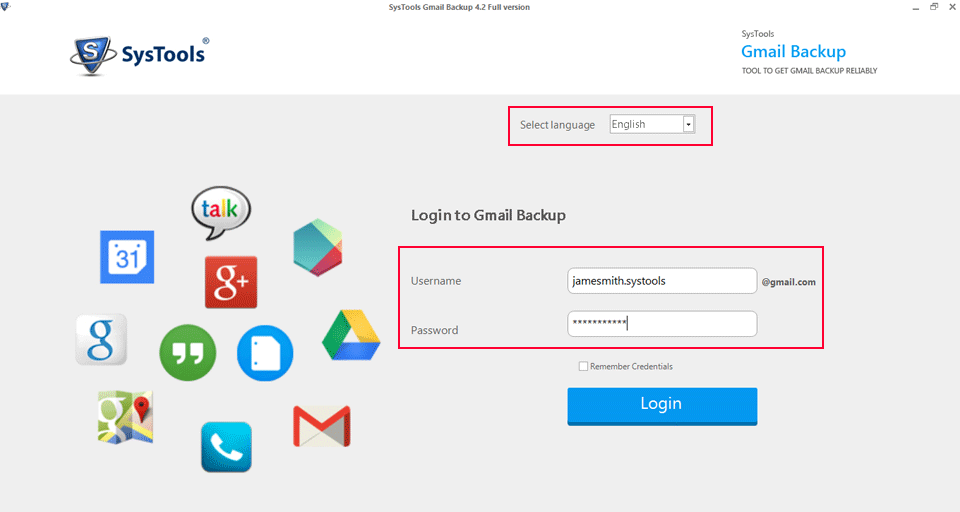
Provide the Gmail Account credentials i.e username and password to the software to login.
Step 3
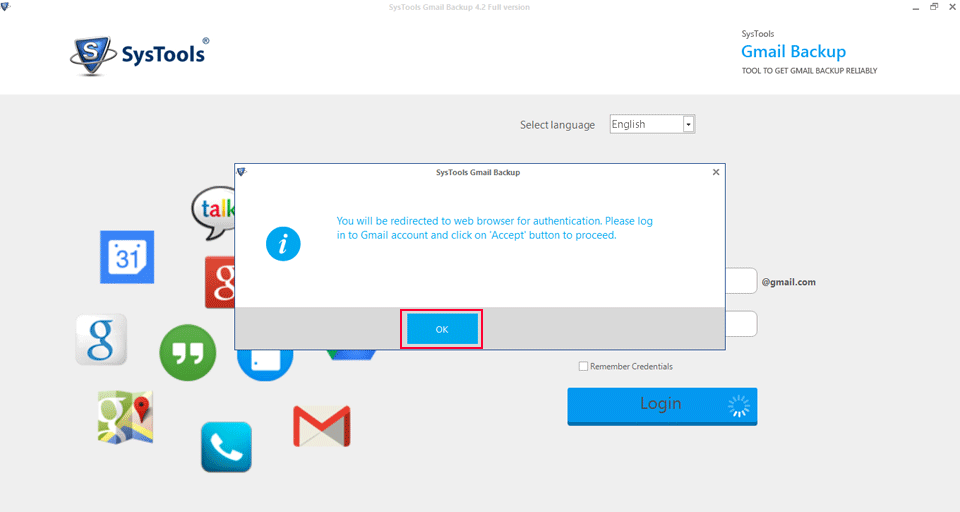
After clicking on Login, the software will give message to redirect you to the web browser for authentication. Click on OK.
Step 4
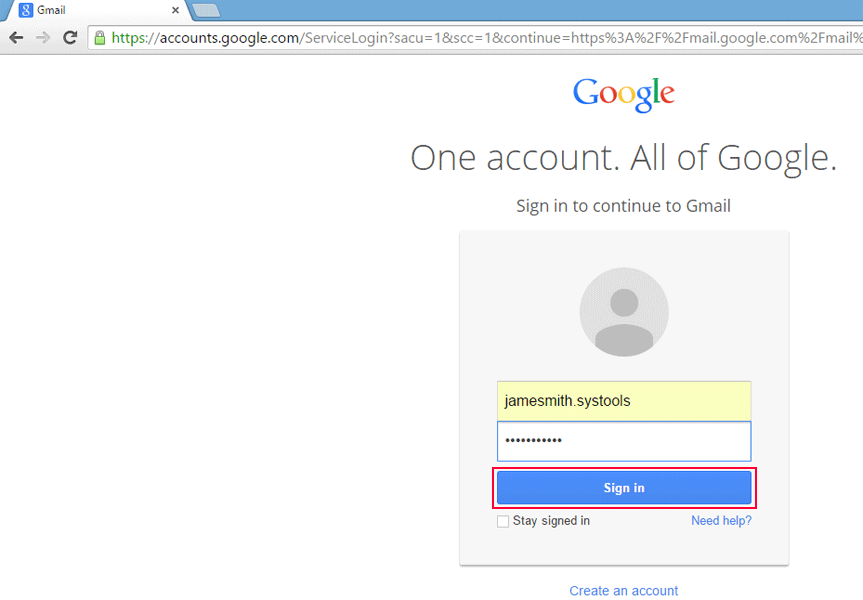
Sign in to your account.
Step 5
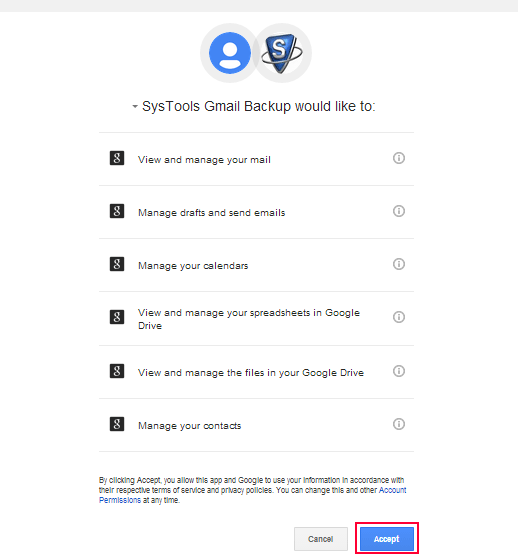
Software will ask for authentication, click on Accept.
Step 6
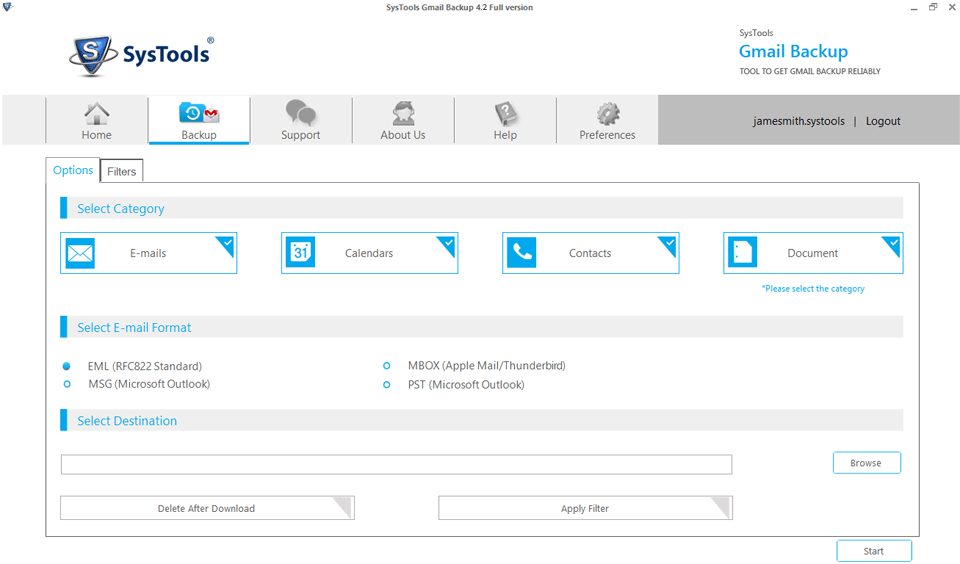
After authentication process again you will be redirected to the software interface.
Step 7
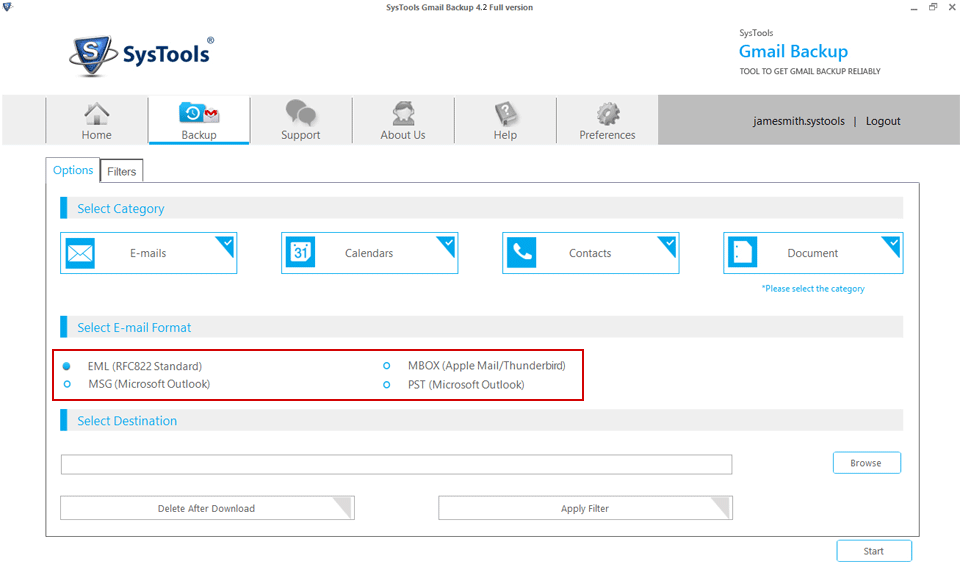
Select the desired E-mail Format in which you want to export.
Step 8
Browse the Location to save the Gmail data in a selected E-mail format.
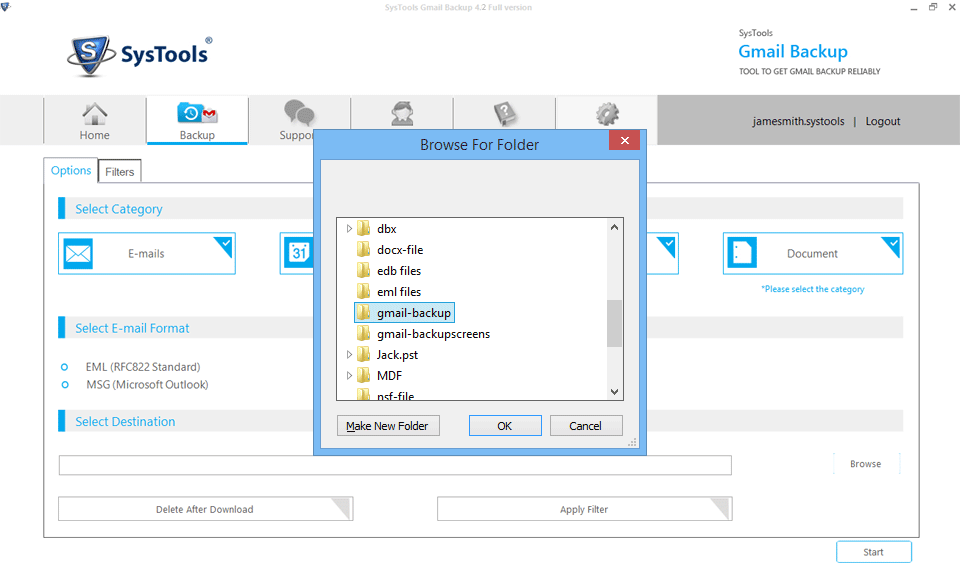
Step 9
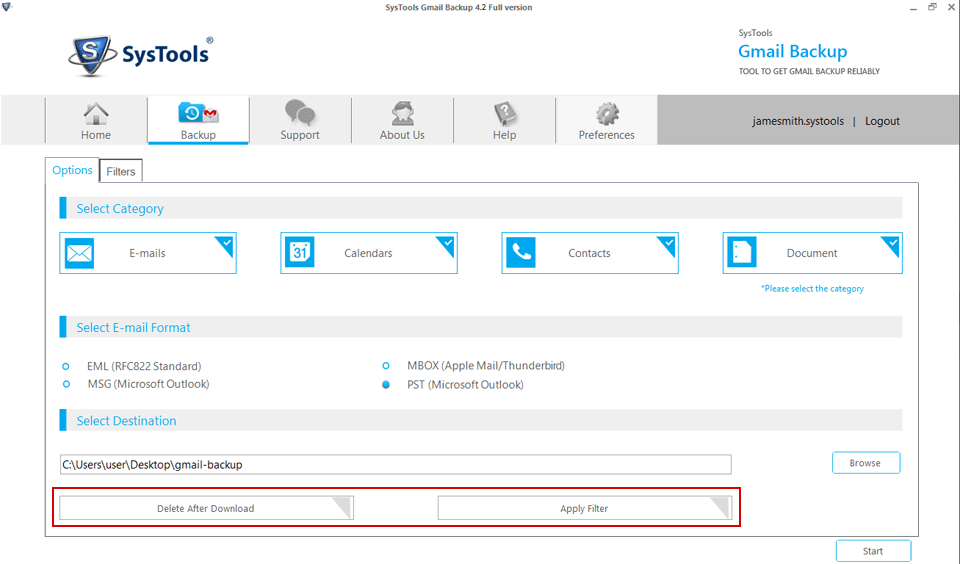
There are two more additional options.
Delete After Download: After taking the full backup, emails can be deleted from server.
Apply filter: For exporting desired data apply the filters to it.
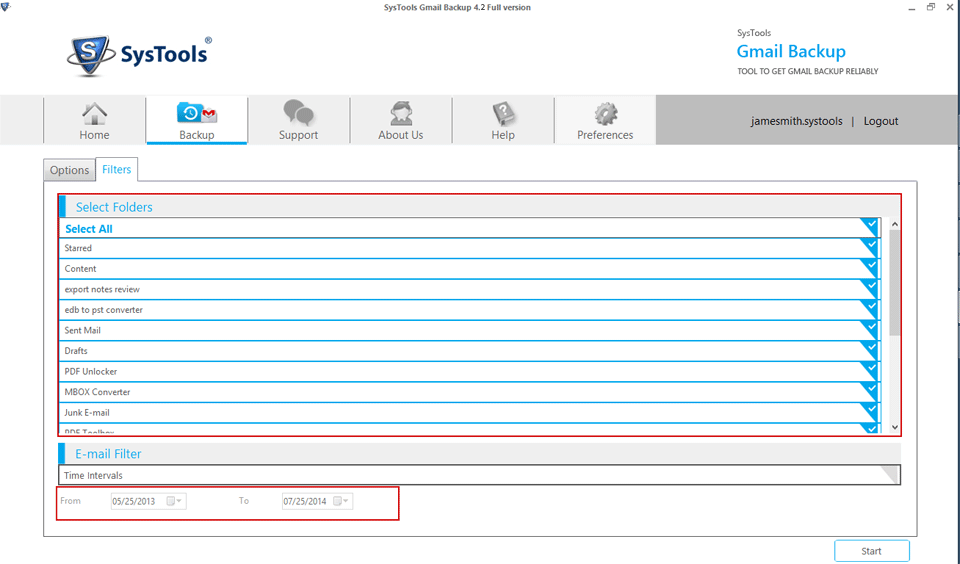
Step 10
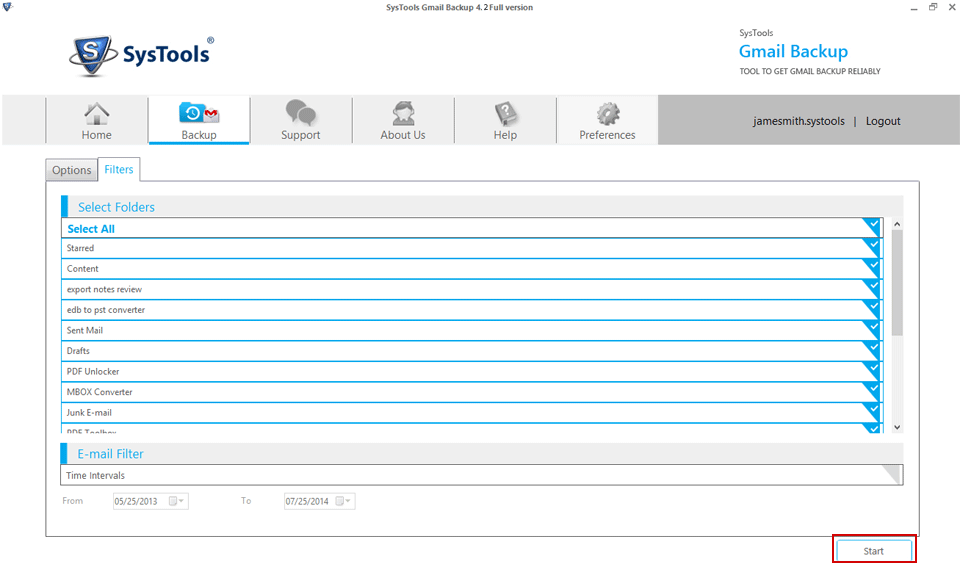
In filter options, select the desired folders from your Gmail account and also you can select the desired time interval for backing up emails.
Step 11
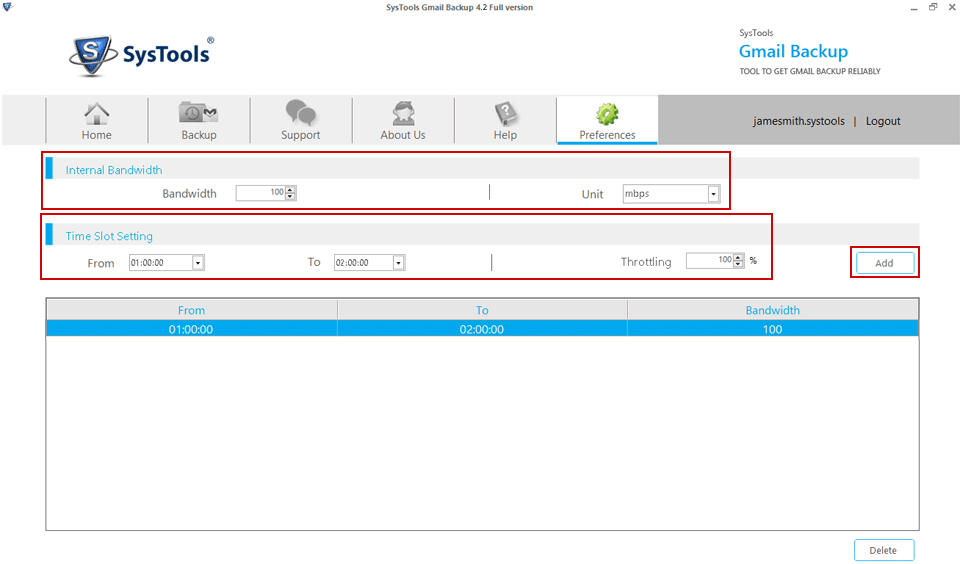
Go to the Preferences option for some additional settings.
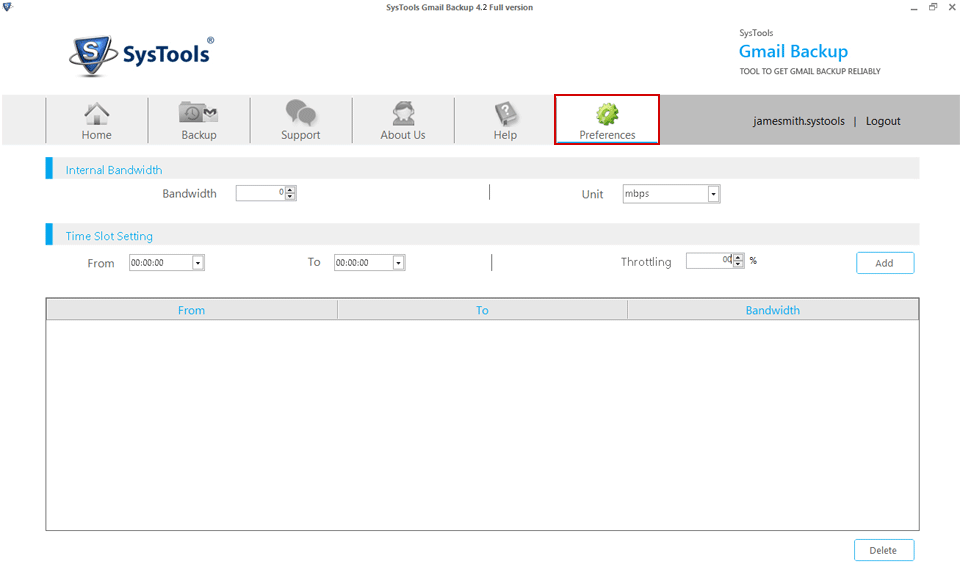
Step 12
Internal Bandwidth: Set the bandwidth to be consumed by the software with its unit in kbps or mbps.
Time Slot Setting: Set the time range and Throttling percentage to the software which is used by CPU for specific time range.
Step 13
Click on Start to start this backup process.
Step 14
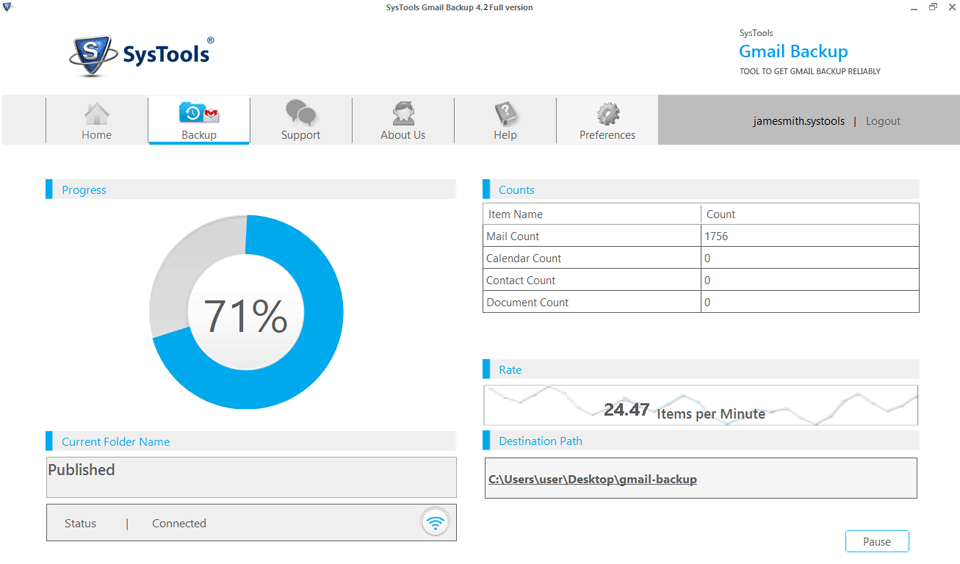
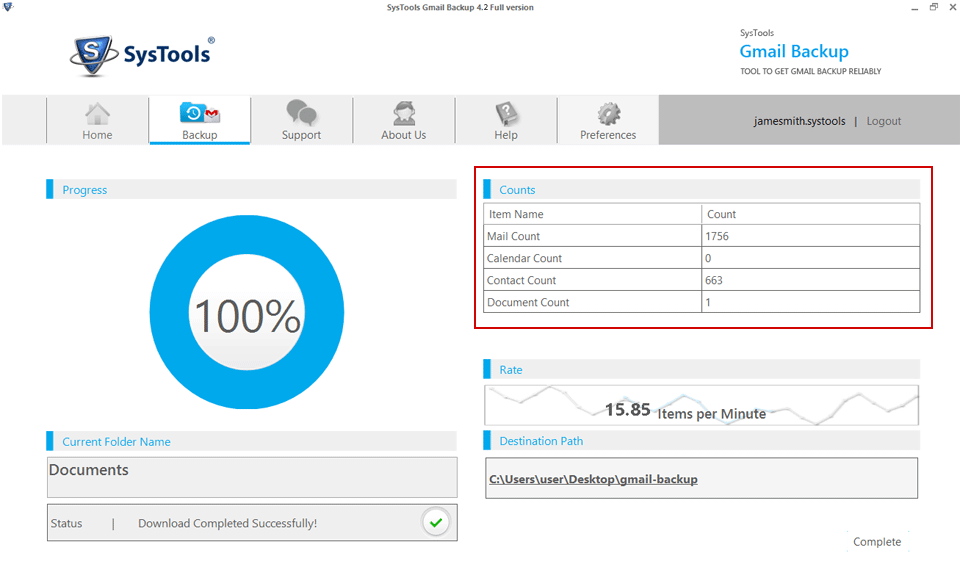
The process will be proceed by showing the progress percentage, Item counts, Progress rate, Destination path and Internet connection status.
Step 15
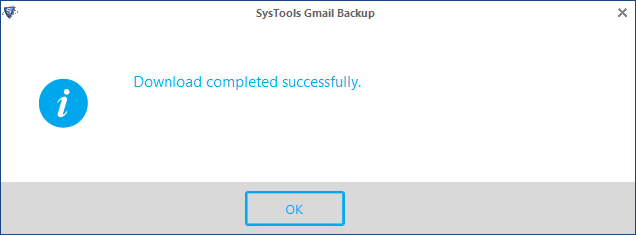
After completion of process, a message of "Download completed successfully." will be shown. Click on OK.
Step 16
Software returns with interface showing the complete 100% progressing and complete item counts.
Step 17
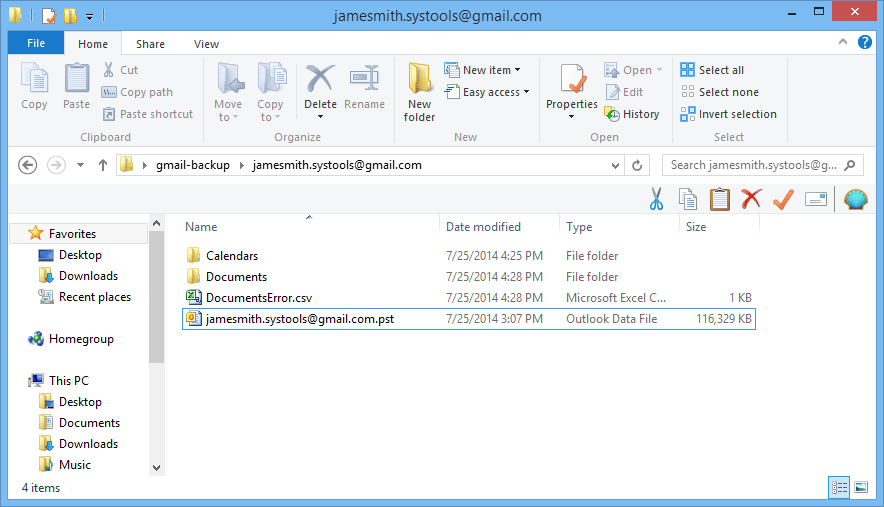
Go to the Destination path to verify the successful export of Gmail account.
Step 18
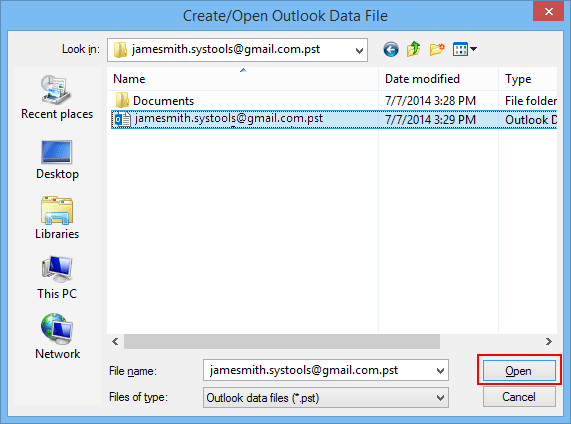
Open the file in its default application.
Step 19
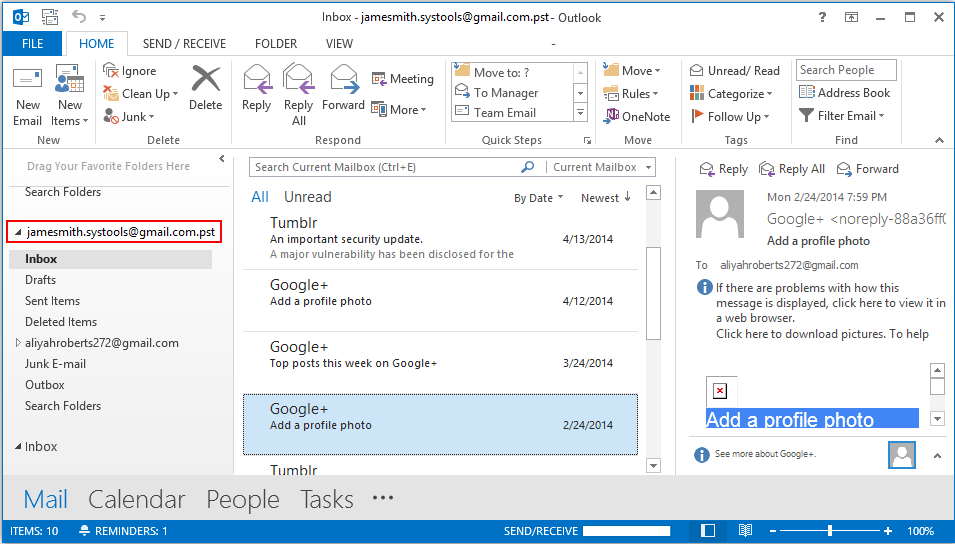
Preview the added PST file in MS Outlook to get the data of Gmail account.
